Hi All,
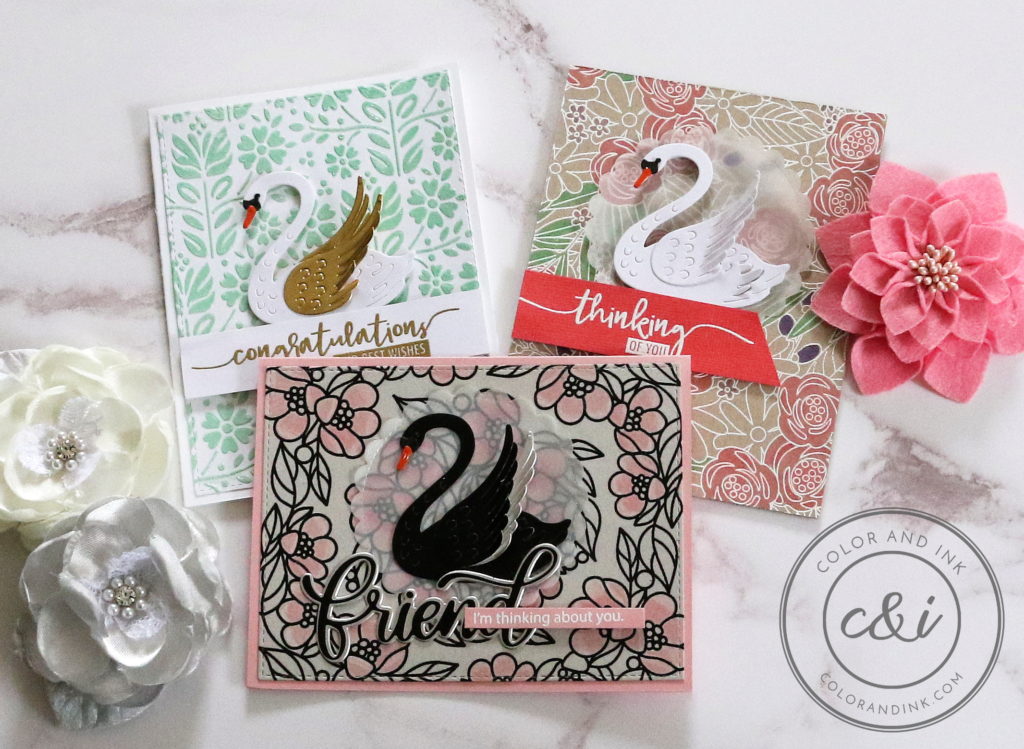
Today I’m sharing three additional cards I made using the Spellbinders’ Card Kit of the Month for February 2019. I really love the swan die that came in this kit and I especially like how it can be used for a verity of different card occasions.
In addition, all three cards feature beautiful background stamps or stencils from Simon Says Stamp.
Card One
Creating the Swan
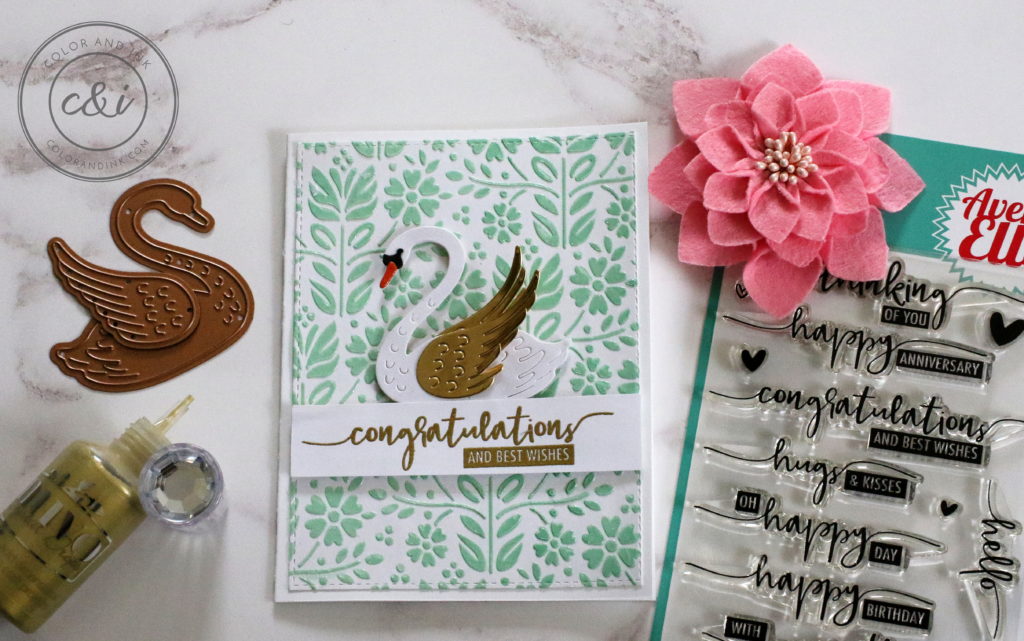
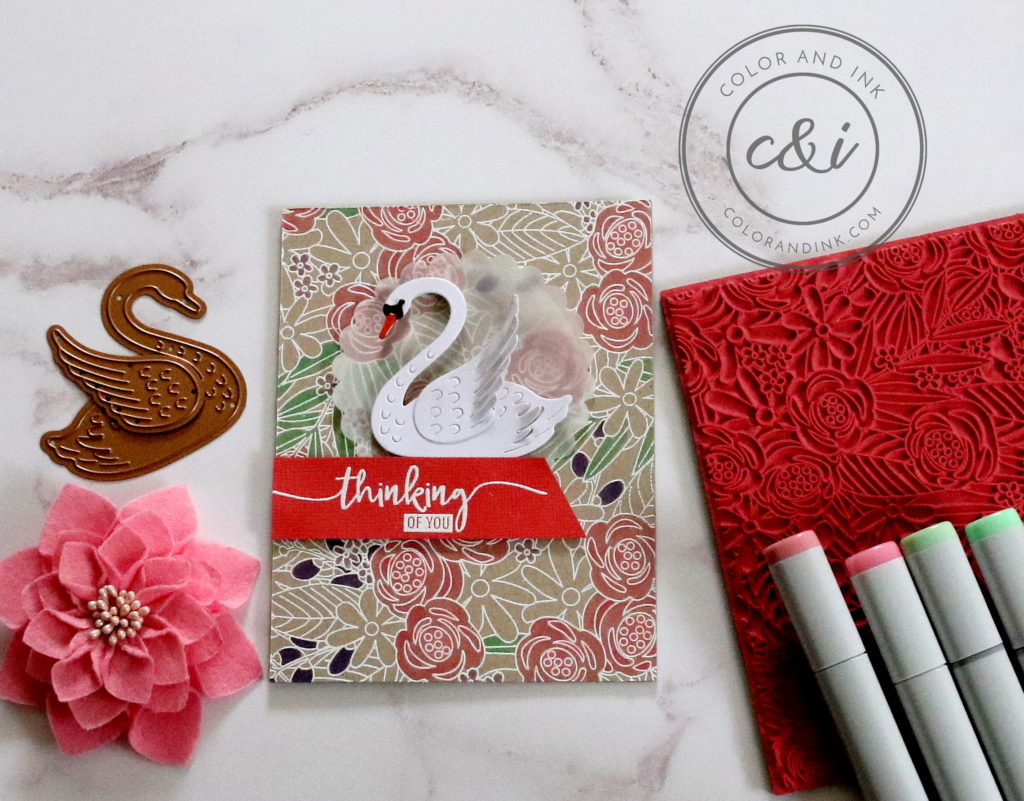
For this card, I die cut the swan using white cardstock from the kit and two wings in gold cardstock from my stash. I adhered one wing on top of the swan’s body and the other to it’s back and fluffy up both wings so they had dimension and movement. I also added a bit of Glossy Accents to its beak and eye.
Background Stencil
I wanted the background to be elegant so I pulled out my Simon Says Stamp’s Folk Dance Stencil. I created a custom embossing paste color by mixing Cracked Pistachio Distress Oxide ink with Dreamweaver’s Translucent Embossing Paste.
Quick note: You don’t need a lot of paste so only mix a small amount of your custom color since you will not be able to put any leftover paste back into the container.
Sentiment
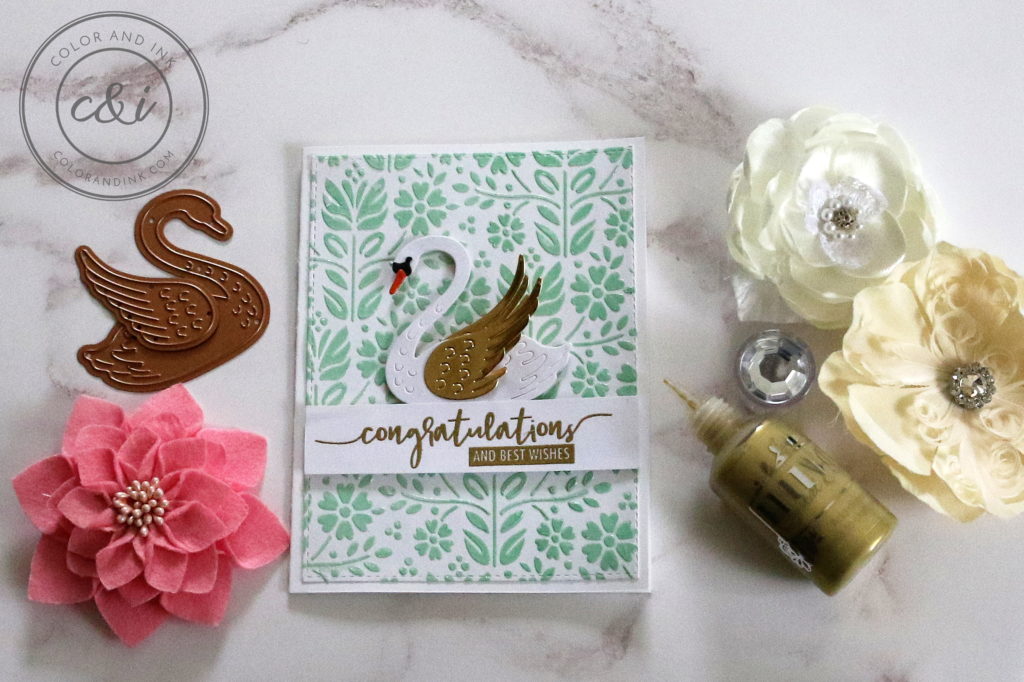
I wanted the sentiment to be elegant so I pulled out my favorite sentiment set Avery Elle’s Loads of Wishes. I stamped the sentiment onto white cardstock and heat embossed it with Ranger’s Super Fine Detail Gold embossing powder. Next, I die cut it using Simon Says Stamp’s Sentiment Labels Wafer Dies and placed it above my swan with the help of foam tape.
Card Two
Creating the Swan
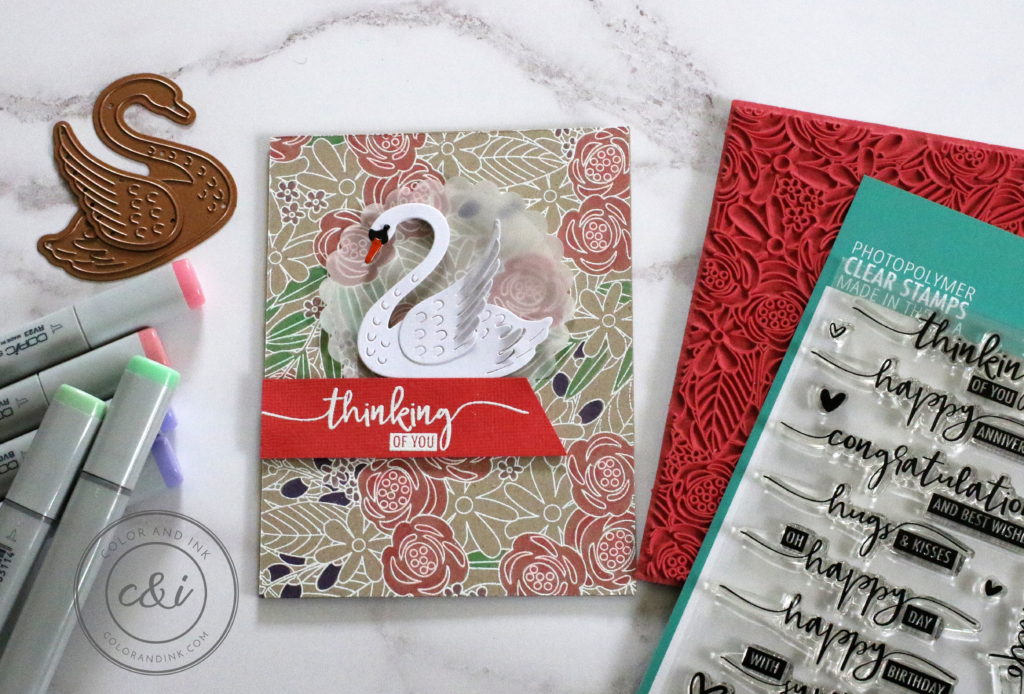
I created the swan by die cutting it and a single wing using white cardstock from the kit. Next, I added some Glossy Accents to the swan’s beak and eye to make them stand out. Then, I adhered the swan to a scalloped circle I die cut from vellum using Lawn Fawn’s Outside In Stitched Scalloped Circle Stackables.
Background Stamp
Simon Says Stamp’s Flower Explosion background stamp is so beautiful and I thought it would make a stunning backdrop for this card. To start, I stamped the Flower Explosion background onto MFT’s Kraft Cardstock and heat embossed it with Lawn Fawn’s White embossing powder. To add a little flare I pulled out several Copic markers (two shades of pink, two shades of purple, and one shade of green) and color in some of the background elements.
Quick Tip: Colored cardstock changes how the marker colors look so I recommend testing them on a scrap piece of the same cardstock before coloring on your project. Also, I would be remiss not to say that there seems to be some back and forth on how safe it is to Copic color over embossing powder (I didn’t have any issues) but if you try this technique I’d recommend not using a very detailed image or doing lots of shading/color blending to be on the safe side.
Sentiment
Much like the last card I wanted to use an elegant sentiment on this card so I pulled out the Avery Elle’s Loads of Wishes set again. I stamped the sentiment on pink cardstock from the kit and heat embossed with Lawn Fawn’s White embossing powder. I also die cut the sentiment using Simon Says Stamp’s Sentiment Labels Wafer Dies and placed it above my swan using foam tape.
Card Three
Creating the Swan
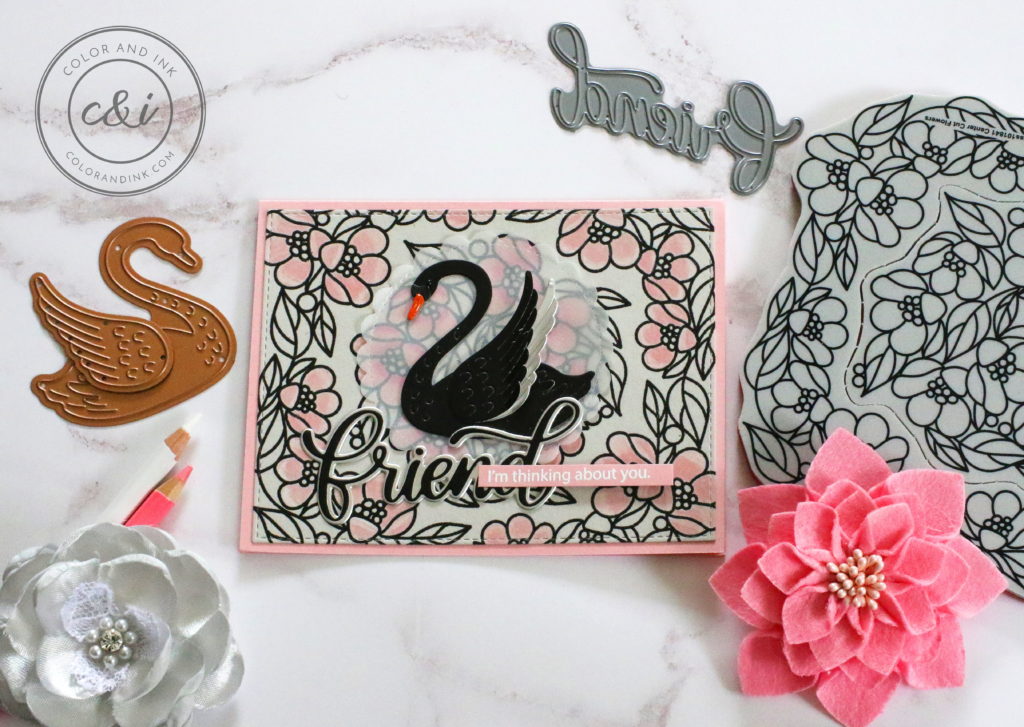
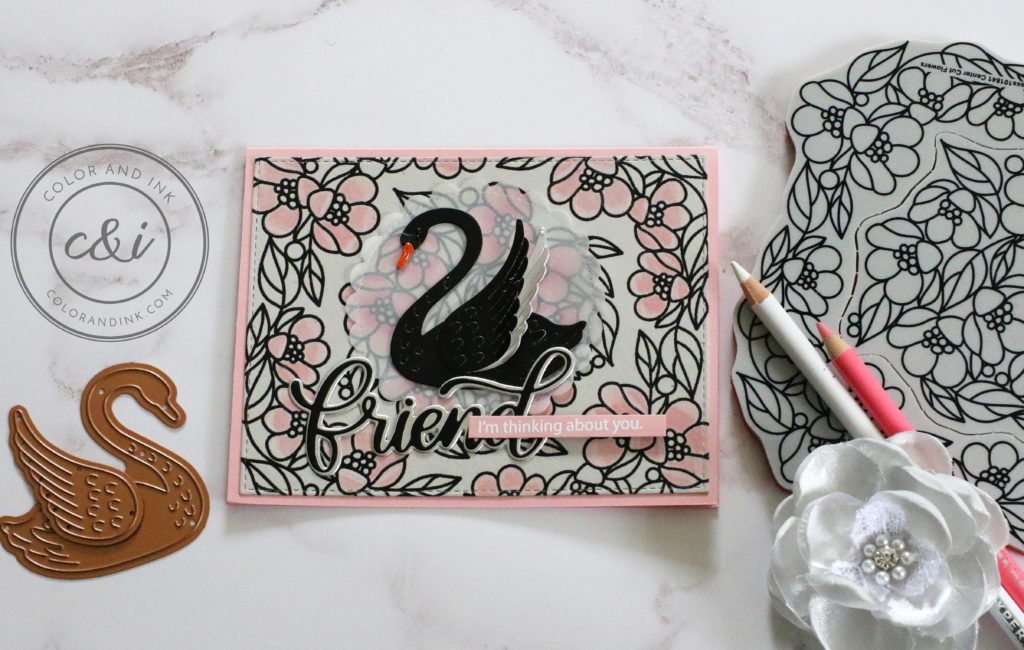
To create this swan I die cut it and one wing out of Tonic Studio’s Black Velvet Mirror Card cardstock. I then cut a second wing out of Tonic Studio’s Frosted Silver Mirror Card cardstock. I adhered the black wing on top of the silver wing and fluff up the feathers before adhering them both to the swan’s body. I also added Glossy Accents to the swan’s beak and eye and then adhered the swan to a vellum scalloped circle I die cut using Lawn Fawn’s Outside In Stitched Scalloped Circle Stackables.
Background Stamp
On this card, I wanted to pull in more of the silver/gray color from the swan’s wing so I stamped Simon Says Stamp’s Center Cut Flowers background onto some light gray cardstock from my stash. I also wanted this card to be bold so I decided to stamp the image using Versa Fine Onyx Black ink and heat embossed it with Hero Arts Clear Embossing Powder. To be honest, I’m not sure I love how it turned out but if nothing else I do think it’s striking.
With the embossing done I pulled out two Arteza colored pencils (white and a light pink) and colored all the flowers.
Sentiment
For the sentiment, I wanted to use Simon Says Stamp’s Big Friend word die and I actually die cut both the word and shadow several times out of pink, silver, and black cardstock because I couldn’t decide which combination I liked the best. I must say I really love how this combination looks.
To complete the sentiment I heat embossed a small sentiment from Simon Says Stamp’s Messages for Everyday set and placed it overlapping the word die. However, if I had to do it over again I would have placed the smaller sentiment under the word die but glue is glue and I didn’t want to ruin my project.
I hope you enjoyed all three cards. In case you’d like to see the other two cards I made using the die please check out my post Two Swan Cards with Spellbinders Card Kit.

Leave a Reply